Well, before any waterproofing is done, there’s obviously a design stage, so strictly speaking I’ve jumped the gun here – going directly to the business of actually waterproofing the building.
As with all materials used for type A waterproofing, the preparation is key to success. Skimp on the prep’ and the project will fail. This applies to any job, big or small.
This one is a care home being built with a basement, below ground in Richmond, just to the east of the Yorkshire Dales. My company; Brick-Tie Preservation, have been awarded the contract. Our Vandex trained technician; Darren Roberts (for it is he), is in charge of operations.
The prospect of failure is too horrendous to contemplate; imagine the claim, if scores of elderly people had to be decanted, whilst leaking ‘tanking’ was repaired. Thus, the spec calls for Vandex Super. This is a cementitious pore blocking method. In effect the material reacts with free lime in the concrete and forms impermeable crystals in the pore structure; making the concrete completely waterproof.
The concrete has to be able to resist the structural pressures imposed by water and of course, in accordance with BS8102, steps need to be taken to take account of potential workmanship issues.
This being done, we started work yesterday….
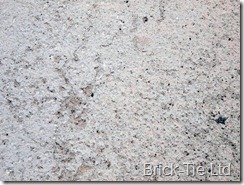
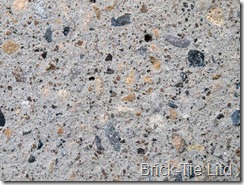
Now then, the images below illustrate the difference between a new concrete surface and the prepared one. Notice that the untreated surface is smoother. This is known as laitance and is really a thin coat of fine material deposited on the concrete surface by the water in the mix, as it cures. Waterproof this and when put under pressure, the layer will de-bond and let the water in. In addition, the fines in this layer are so small, that they block the pores in the concrete, so the expensive Vandex cannot do it’s job.
The second image clearly shows the inside of the concrete; open pores and clean aggregate. All that needs to be done now is a thorough wetting and application of the Vandex in the correct quantities – chemistry does the rest (though some help is needed to extend the curing time whilst the Vandex does it’s work.
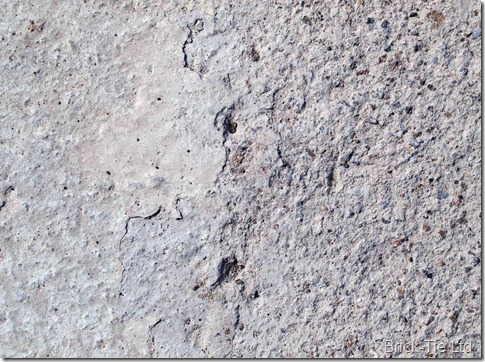
The image below was shot at the edge of the prepared zone so you can see the effect side by side.
I love waterproofing, especially ‘civil’ type jobs, where we get to play with big machines, cranes and such. I’ll post a further video or two as the job progresses; pay attention and you can then call yourselves experts ….if you like.
Dry Rot.


